With your Web3 Wallet, you can effortlessly connect to and use dapps to access web3, DeFi, and/or NFTs directly from your wallet.
Dapp interactions are managed in the Prime Web3 Wallet extension, governed by your policy engine, and tracked in your account activity history.
Expand each section below to learn more about the different ways to interact with a dapp.
From your Browser where the wallet extension is installed, navigate to the Web front end of the dapp. In this example we will use Uniswap.com.
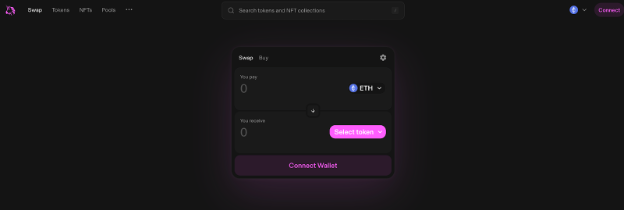
2. Connect wallet and select Coinbase Wallet.

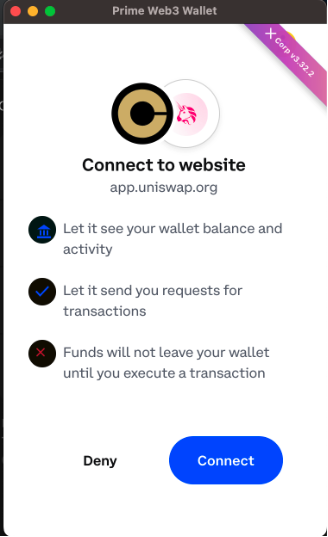
3. Click connect when Prime Web3 Wallet window pops up
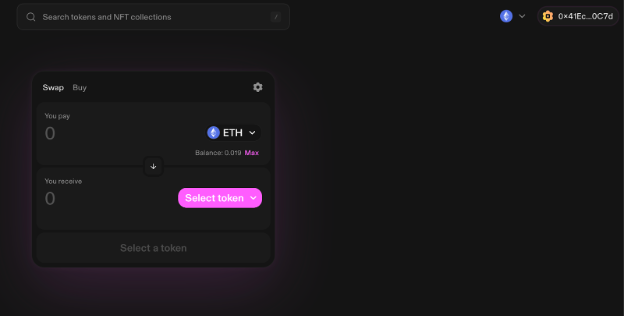
4. Once connected you should see the wallet address in the top right window of the dapp
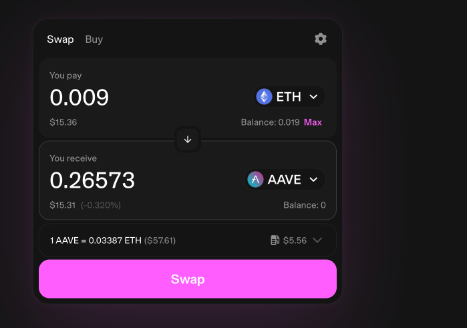
We will use Uniswap for this example.
1. Initiate and execute a transaction on a dapp

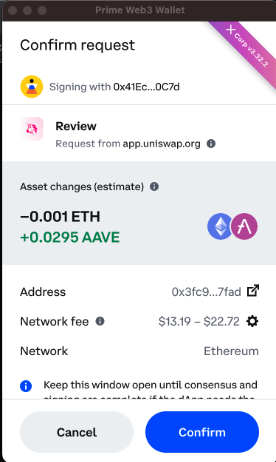
2. Review and confirm the transaction through the Coinbase Prime extension. Click the settings cog next to your network fee to customize the fee you want to pay.
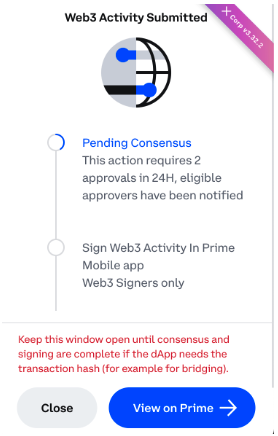
3. Reach consensus for the transaction on Coinbase Prime. Note: do not close the extension while you are waiting for consensus or the transaction will not be completed.
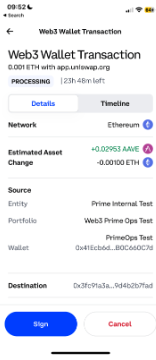
Step 4: Once consensus is reached, sign the transaction on your mobile device.
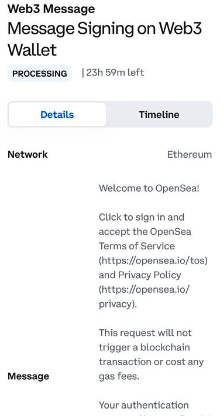
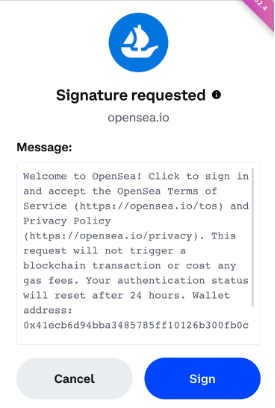
Some dapps may ask you to connect your wallet and to sign a message authenticating that you are the owner of your wallet. Message signing will go through consensus and you must leave the browser open until the transaction is signed or it will not be completed.
In this example, we will use Opensea.io
1. Initiate and execute transaction on daApp
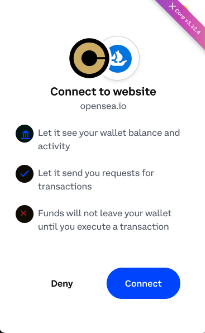
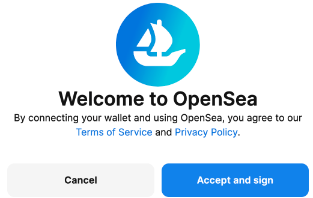
2. Click Accept and sign
3. Reach consensus on Conbase.com/prime. Be sure to keep the web3 message window open while reaching consensus.
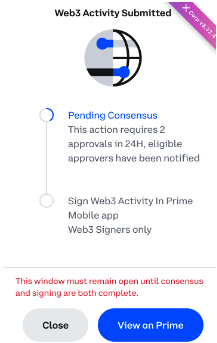
4. After consensus, sign the transaction on a mobile device. Keep the Web3 message window open until signing is complete.