Web3 signers hold a key shard on their mobile device using the Coinbase Prime Approvals app. If the mobile device is lost, broken or the app is uninstalled that user loses access to their shard and cannot sign transactions.
The Coinbase Prime Web3 Wallet is equipped with multiple recovery options to help you avoid losing access to your wallet. However if the necessary precautions are not taken, there is a risk of losing access to your wallet. Let's run through some examples:
Web3 Wallet access example: | At least 1 signer has access to shard | At least 1 user has access to recovery passphrase | Recovery Method to use |
Individual Web3 Signer lost access to key shard Ex. Signer deletes the Prime Approvals app or lost device | True | True | ✅ Existing signer reprovisions user access |
Individual Web3 Signer lost access to key shard Ex. Signer deletes the Prime Approvals app or lost device | True | False | ✅ Existing signer reprovisions user access |
All signers have lost access to their devices Ex. Company wide wipe of mobile devices | False | True | ✅ Recover key with recovery passphrase |
Recovery passphrase lost Ex. File storing recovery passphrase deleted | True | False | ✅ Replace recovery passphrase but requires at least one web3 signer with access to the key shard |
All signers and access to their shard passphrase lost Account has only 1 signer, who has left the company, and that individual was the only person with the recovery passphrase saved on their mobile device. | False | False | ❌ No recovery options available and wallet access permanently lost. |
If you lose access to your device or the Prime Approvals app, another Web3 Signer in your portfolio can restore your access. This method only works when another Web3 Signer in the portfolio has access to the wallet.
To restore a Web3 Signer’s access to a wallet, follow these steps:
Step 1: An Administrator will remove and reinstate the Web3 Signer permission for the impacted user.
In Prime, go to Settings.
Choose the Web3 tab and locate the impacted user
Select remove Web3 Signer and verify with your Yubikey.

4. Reach consensus to approve the change.
5. Navigate back to the Web3 Settings page and select Add Web3 Signer.

6. Choose the user from the dropdown.
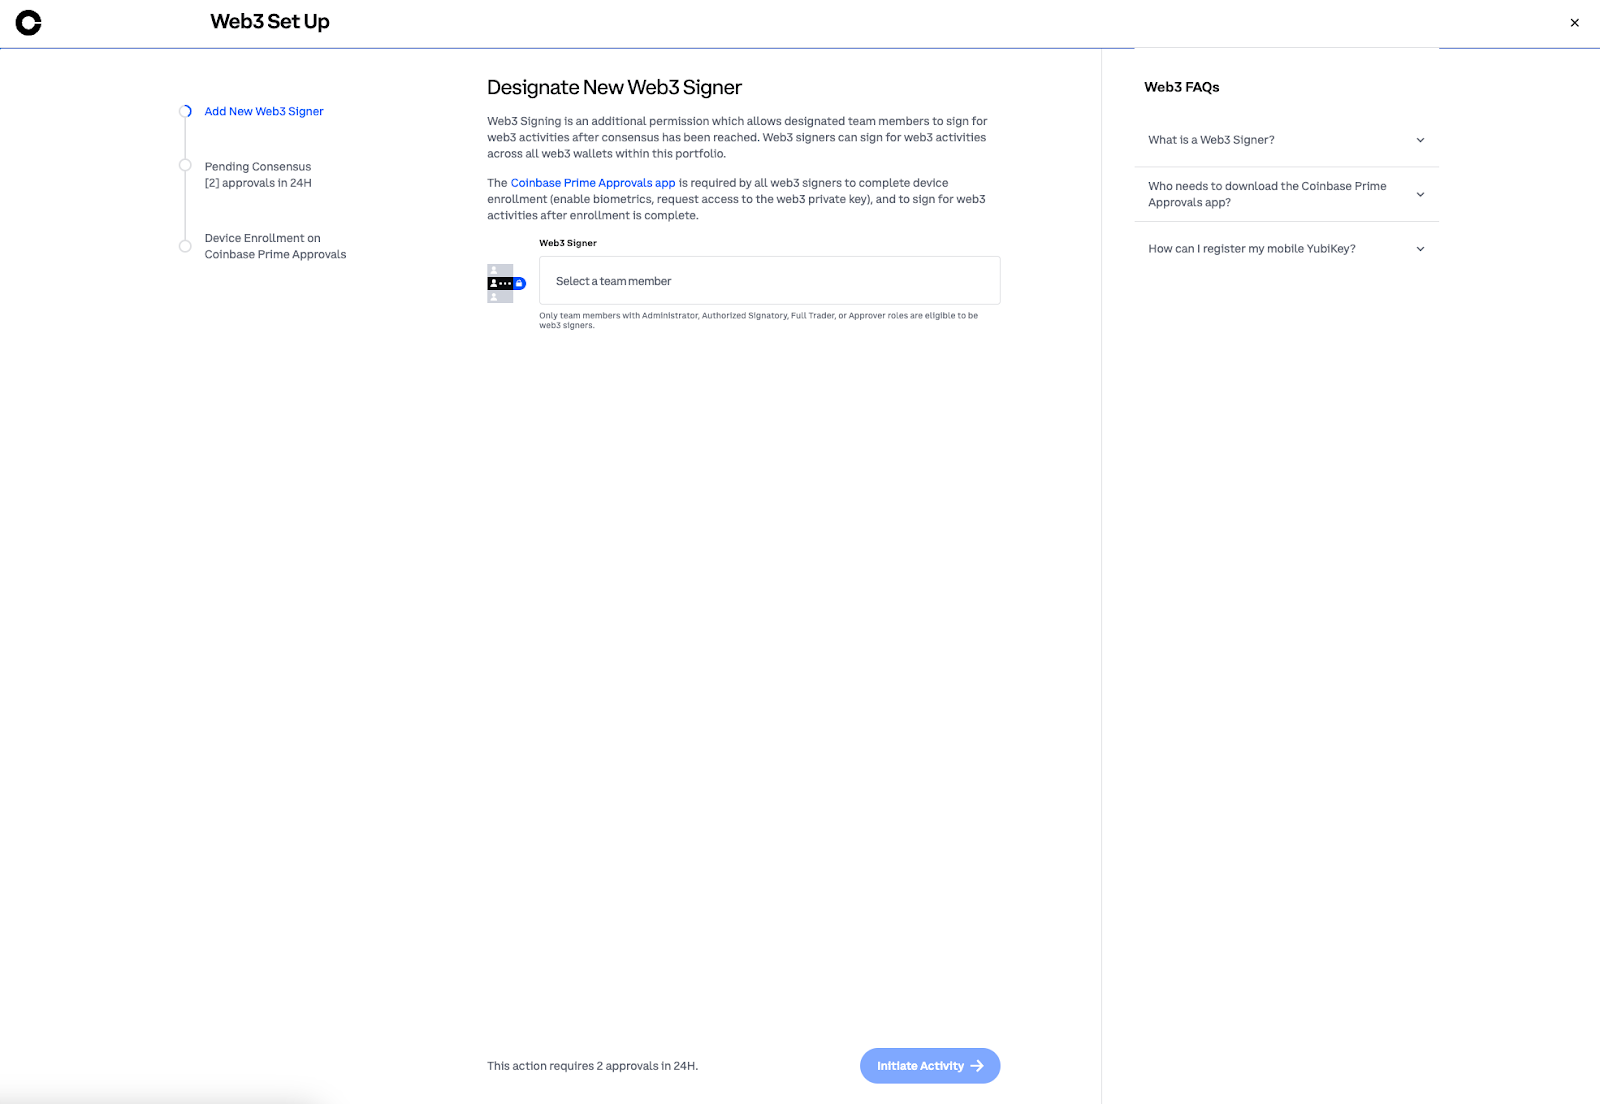
7. Initiate the activity, authenticate with your Yubikey and reach consensus to approve the change.
Step 2: Re-enroll device
Impacted Web3 Signer should request to re-enroll the device.
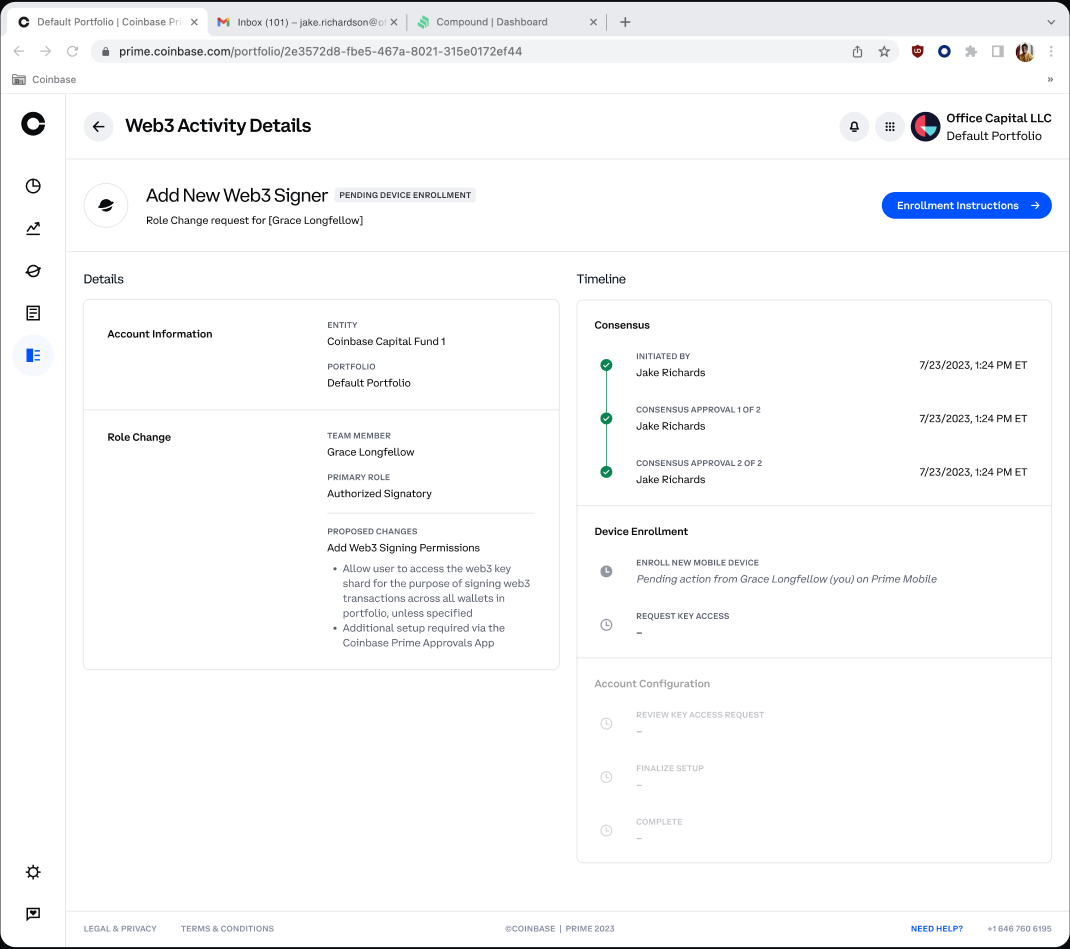
In Coinbase Prime, click the Tasks Bell icon to open the Add New Web3 Signer activity.
2. Select Enrollment Instructions, review the requirements and click Continue.
3. Scan the QR code with your mobile device and log into the Prime Approvals mobile app.
4. Open the Device Enrollment activity from the Tasks tab or simply select Get Started on the Device Enrollment page.
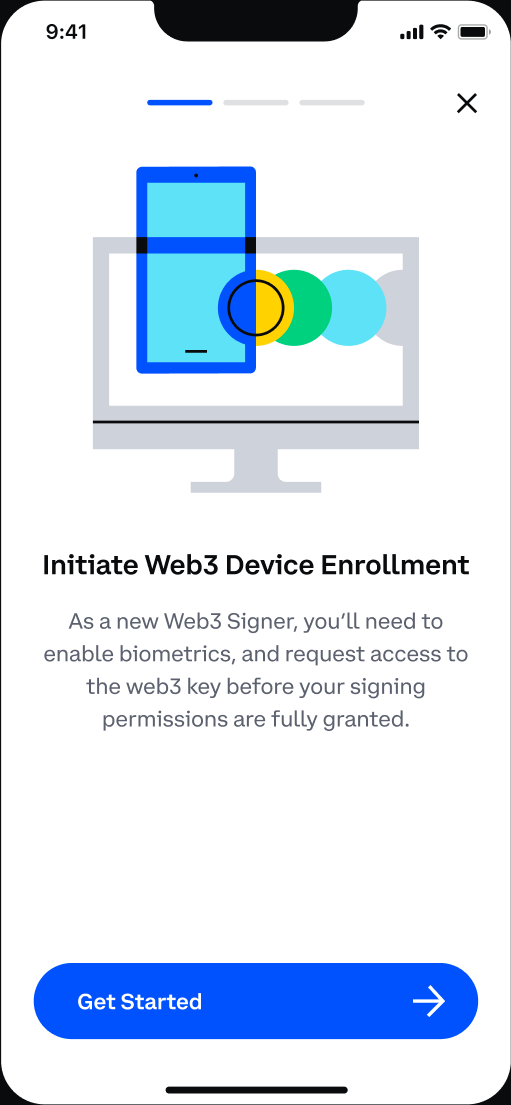
5. Enable biometrics and follow the prompts to request access to the Web3 key.
An existing Web3 Signer will approve the Enroll Device request.
Sign in to Prime, select the Tasks Bell icon, and open the Add New Web3 Signer activity to use the QR code. Alternatively, you can directly open the Prime Approvals mobile app on your device.
In the Prime Approvals mobile app, select Review Request on the Add New Web3 Signer page.
Select Approve & Sign and verify with biometrics to clone the key shard.
Impacted Web3 Signer accepts the shard:
Open Device Enrollment activity in the Prime Approvals app .
Select Done to complete the process (without this, you won’t have a valid key shard on your device).
You now have the wallet key shard on your device and can sign transactions as a Web3 Signer.
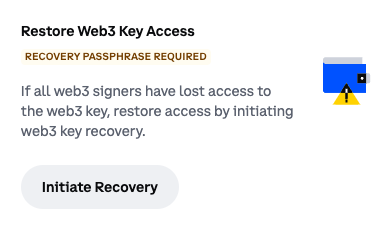
In the event all your Web3 Signers have lost access to their devices, you can still recover access using the recovery passphrase. During onboarding, Coinbase will create an encrypted recovery backup for your key shard encrypted with a 12 word recovery passphrase. The encryption ensures your key shard never gets exposed to Coinbase. Your 12 word recovery passphrase is NOT your private key, it is an encryption key for the encrypted recovery backup stored by Coinbase.
Take the following steps to initiate your device recovery.
Administrator: Designate the Web3 Signer to complete the device recovery.
In Coinbase Prime, go to Settings.
Click the Web3 tab and locate the Key Management section.
Under the Restore Web3 Key Access option, click Initiate Recovery.
4. Select an existing Web3 Signer from the dropdown who will complete the key recovery. Note: the signer will need the Prime Approvals mobile app and access to the 12 word recovery passphrase.
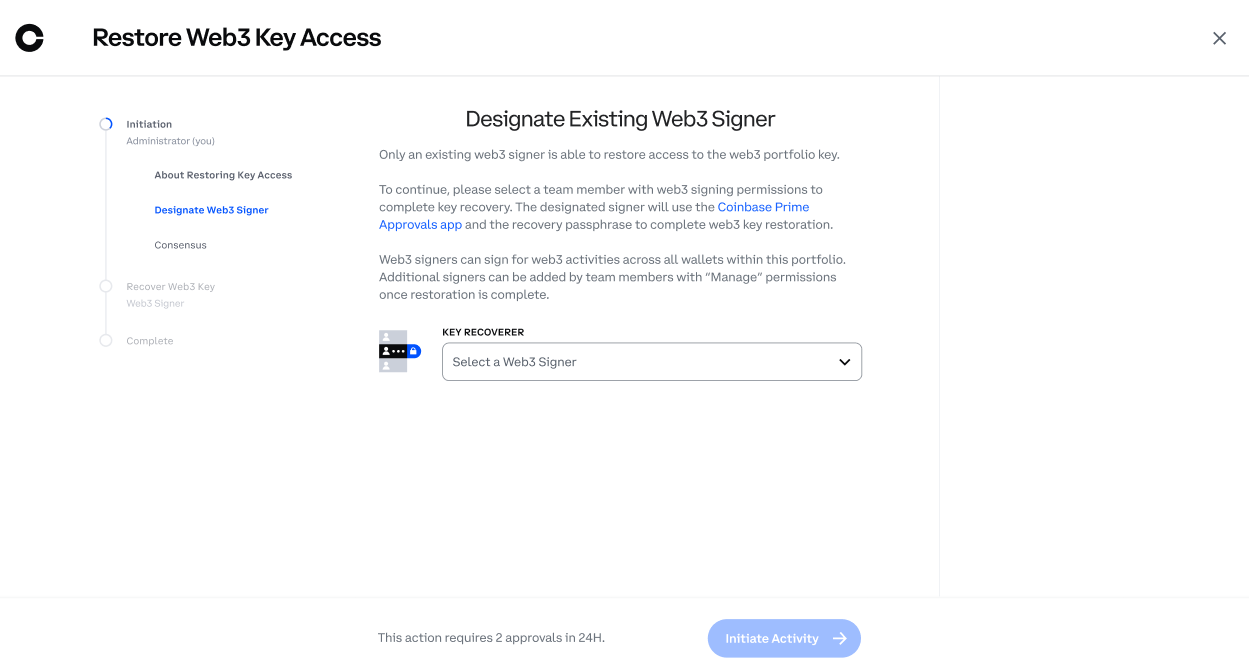
5. Initiate the activity and authenticate with your Yubikey.
6. Reach your portfolio’s General Consensus approval threshold to approve the request.
Designated Web3 Signer to perform recovery: Complete device recovery.
Click the Tasks Bell icon on the top right of the page.
Open the Recover Web3 Key activity and click Continue.
Scan the QR code with your mobile device and/or log into the Prime Approvals mobile app.
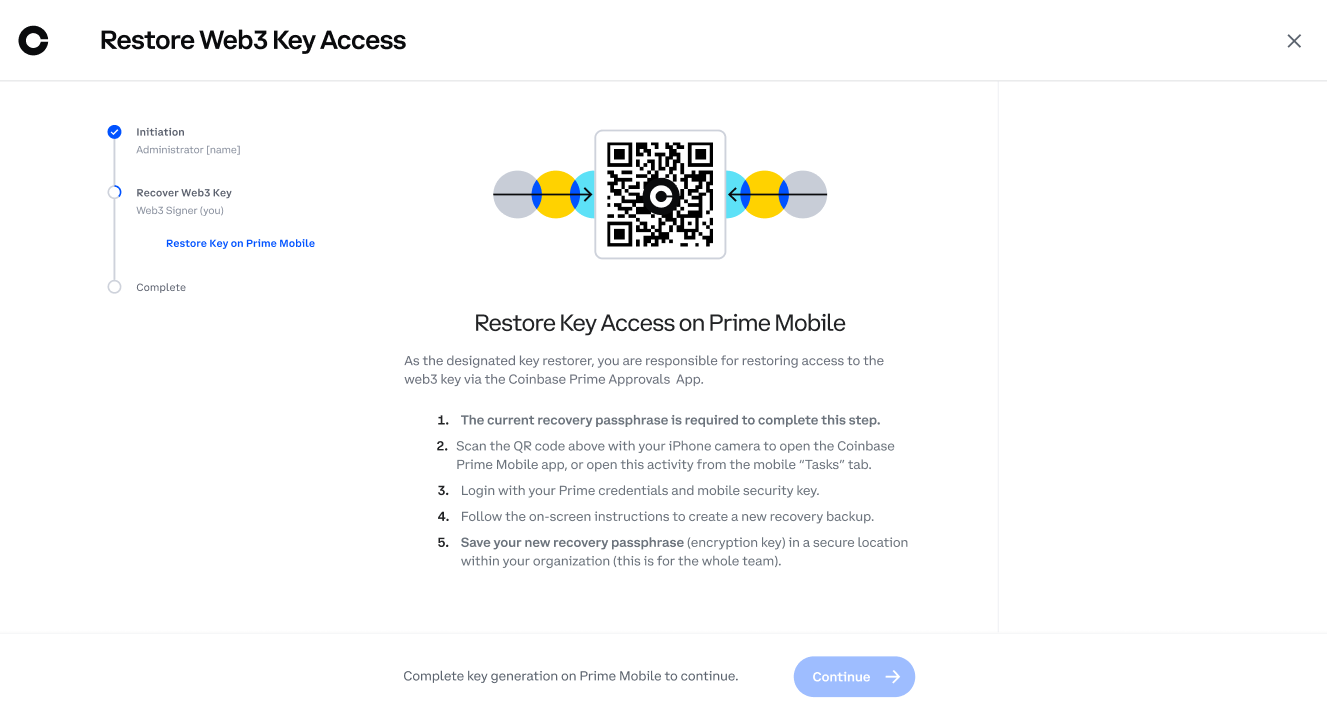
4. Enable biometrics (Face ID). If you face any issue, make sure biometrics is enabled on your mobile device.
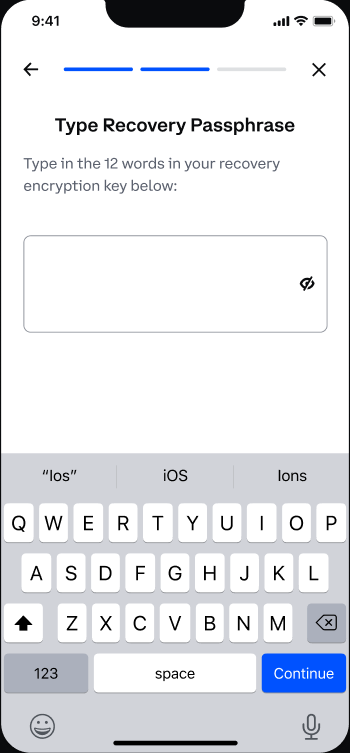
5. Enter the 12 word recovery passphrase & click Continue.
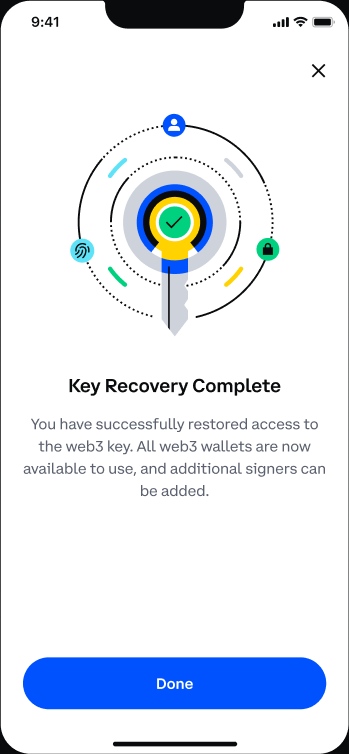
6. Once you see the confirmation that the key recovery is complete, click Done.
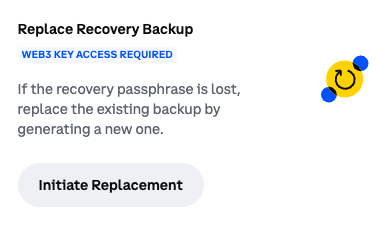
In the event you lose access to the recovery passphrase for your wallet or want to rotate your recovery passphrase, you can generate a new backup and recovery passphrase to replace it as long as one of your signers has access to their device and web3 key shard. Replacing a recovery backup will invalidate the previous recovery passphrase.
Administrator: Designate the Web3 Signer to complete the recovery backup replacement.
In Prime, go to Settings.
Click the Web3 tab and locate the Key Management section.
Under the Replace Recovery Backup option, click Initiate Replacement.
4. Select an existing Web3 Signer from the dropdown who will complete the recovery backup replacement. Note that this user must have access to their device that holds the key shard.
5. Initiate the activity and authenticate with your Yubikey.
6. Reach your portfolio’s General consensus approval threshold to approve the request.
Web3 Signer: Complete recovery backup replacement.
Log into Prime and click the Tasks Bell icon on the top right section of the page.
Open the Replace Recovery Backup activity and click Continue.

3. Scan the QR code with your mobile device and log into the Prime Approvals mobile app.
4. On the “Create New Recovery Backup” activity page, click Create New Backup.
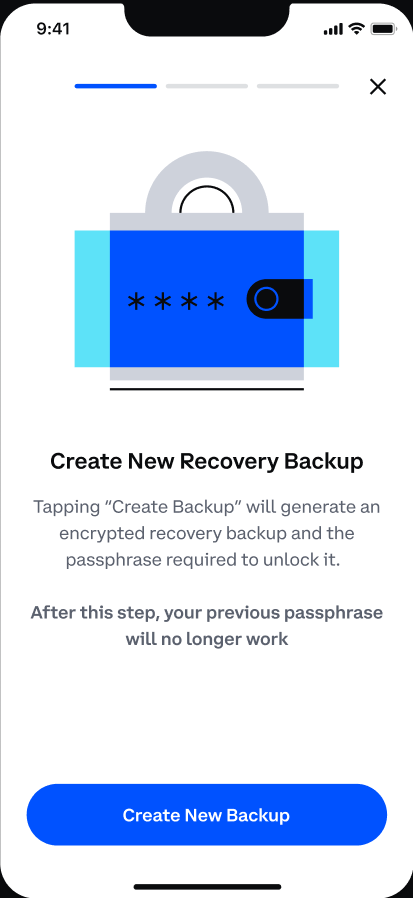
5. Authenticate with biometrics (Face ID).
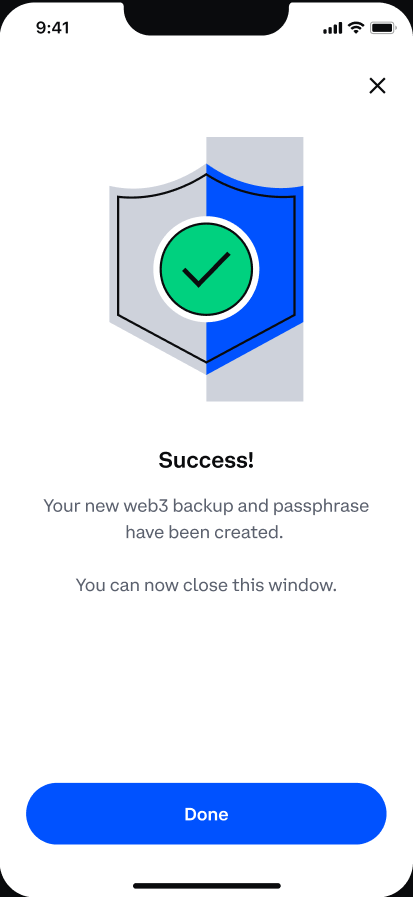
6. View the 12 word recovery passphrase and store it in a safe location.
7. Once you are confident the passphrase is stored safely, click Continue. Note the passphrase will not be shown again after you hit Continue.
8. Select the first (1st) and last (12th) word of your passphrase to confirm it is saved.
9. Once you see the confirmation that the new backup and passphrase are created, click Done.